
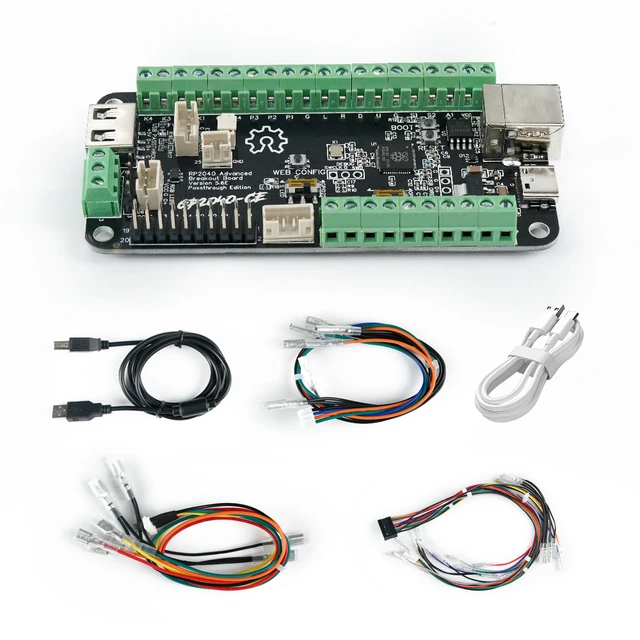
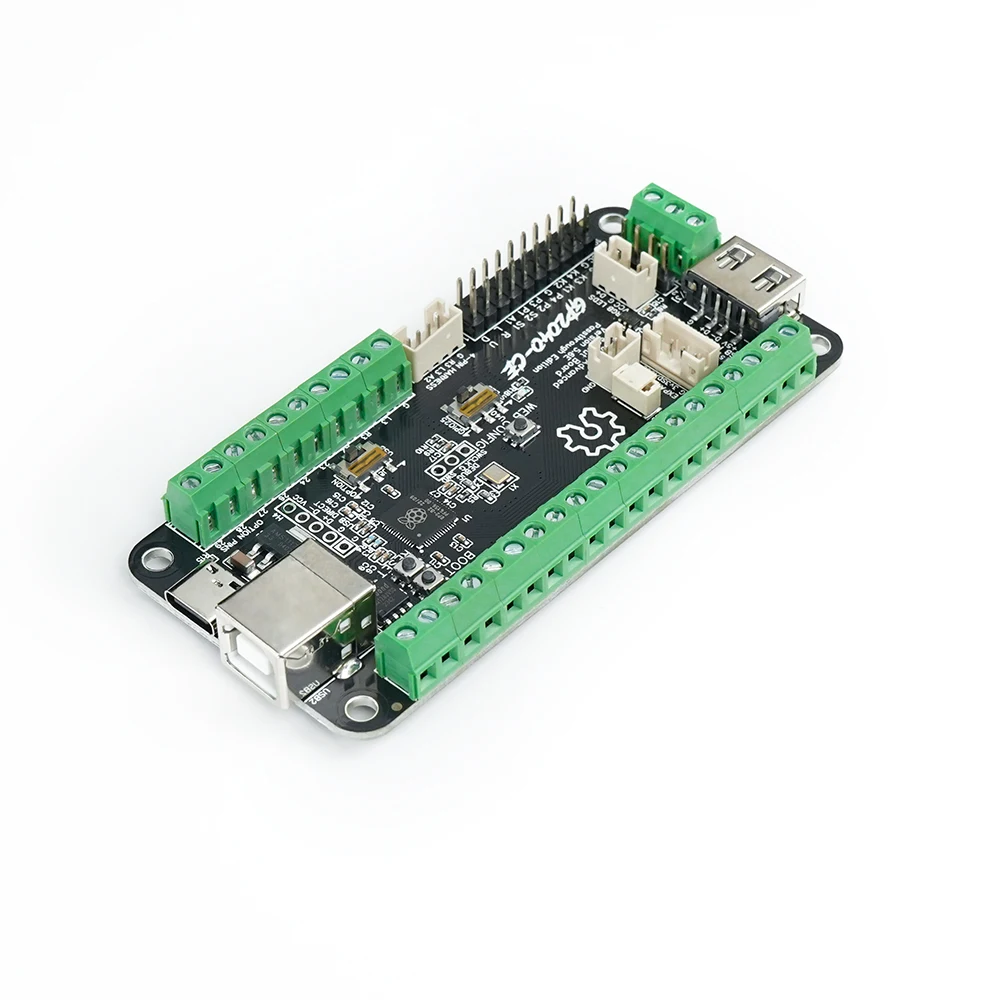
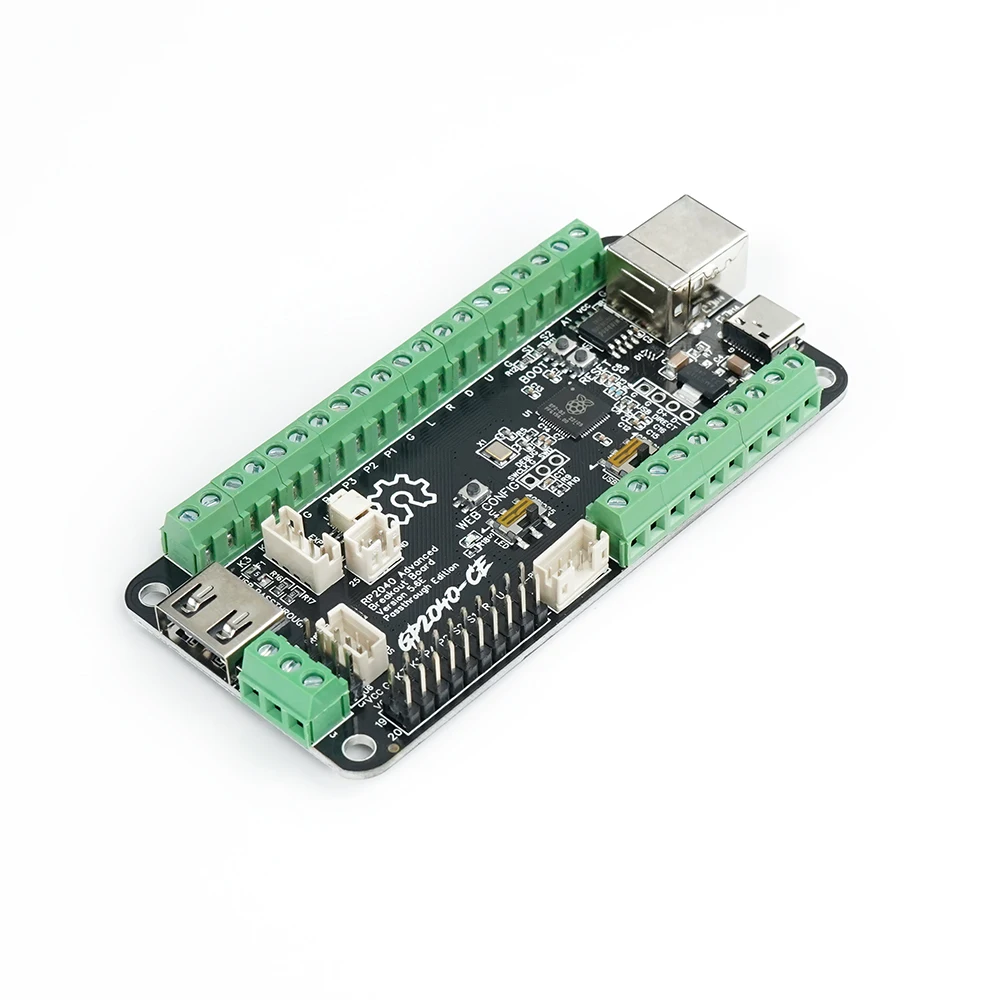
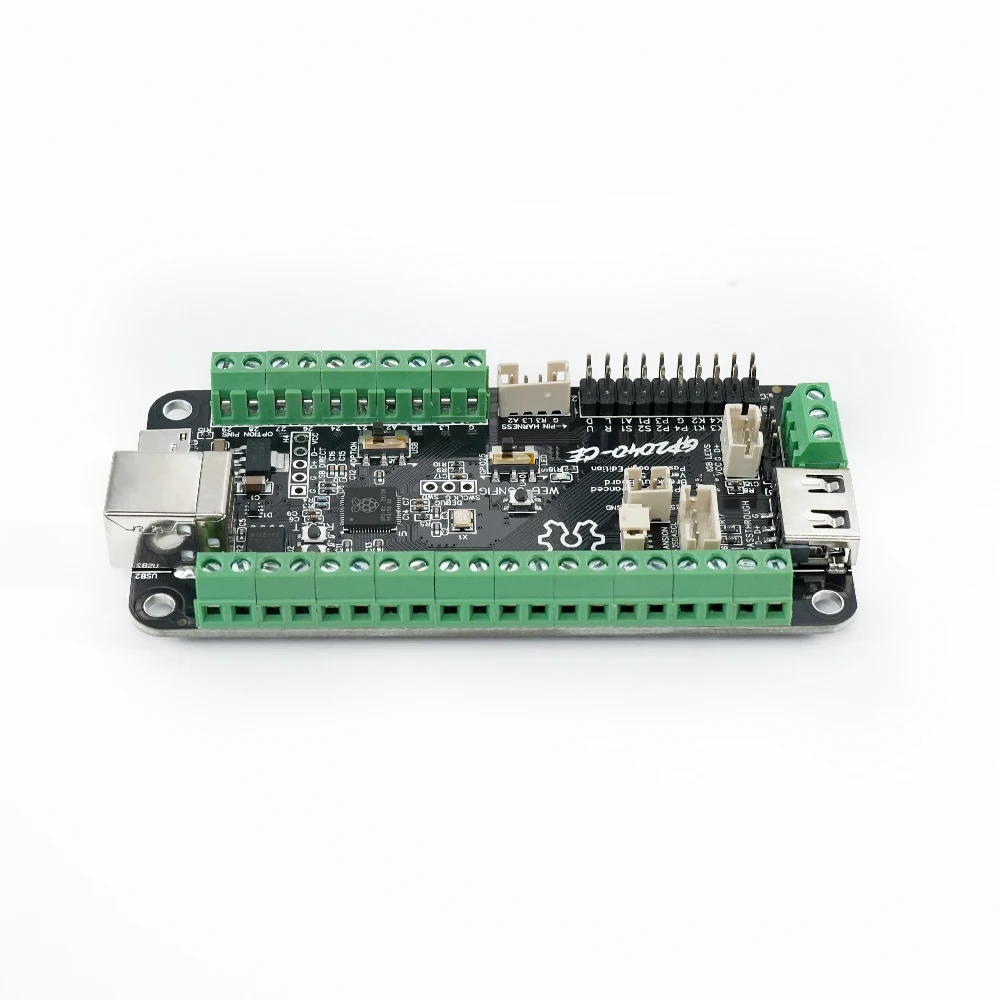
Усовершенствованная коммутационная плата USB-паста для аркадного хитбокса DIY
2 509 ₽
3 531 ₽
Не доставляется в Россия

Усовершенствованная коммутационная плата USB-паста для аркадного хитбокса DIY


Похожие товары
- Товар пока без отзывов — купите сейчас и расскажите о нём всё
Описание
Introdouctions:
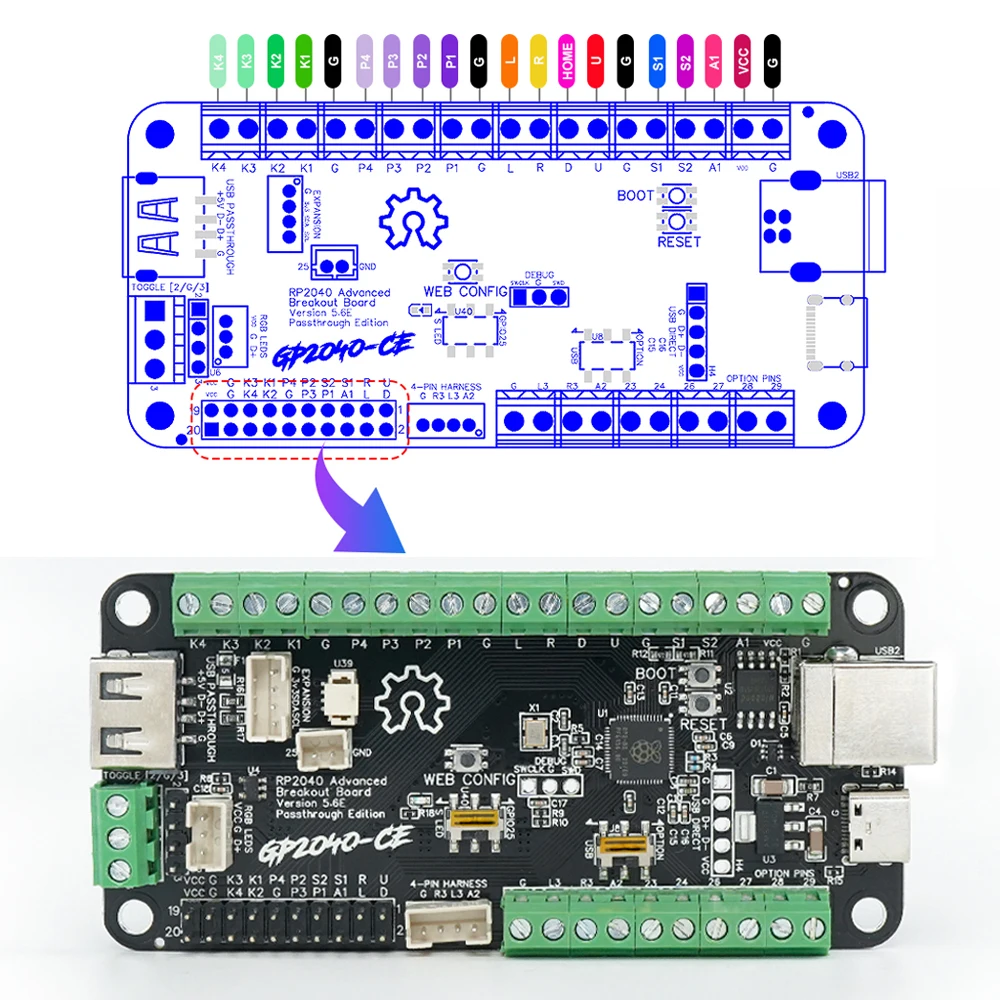
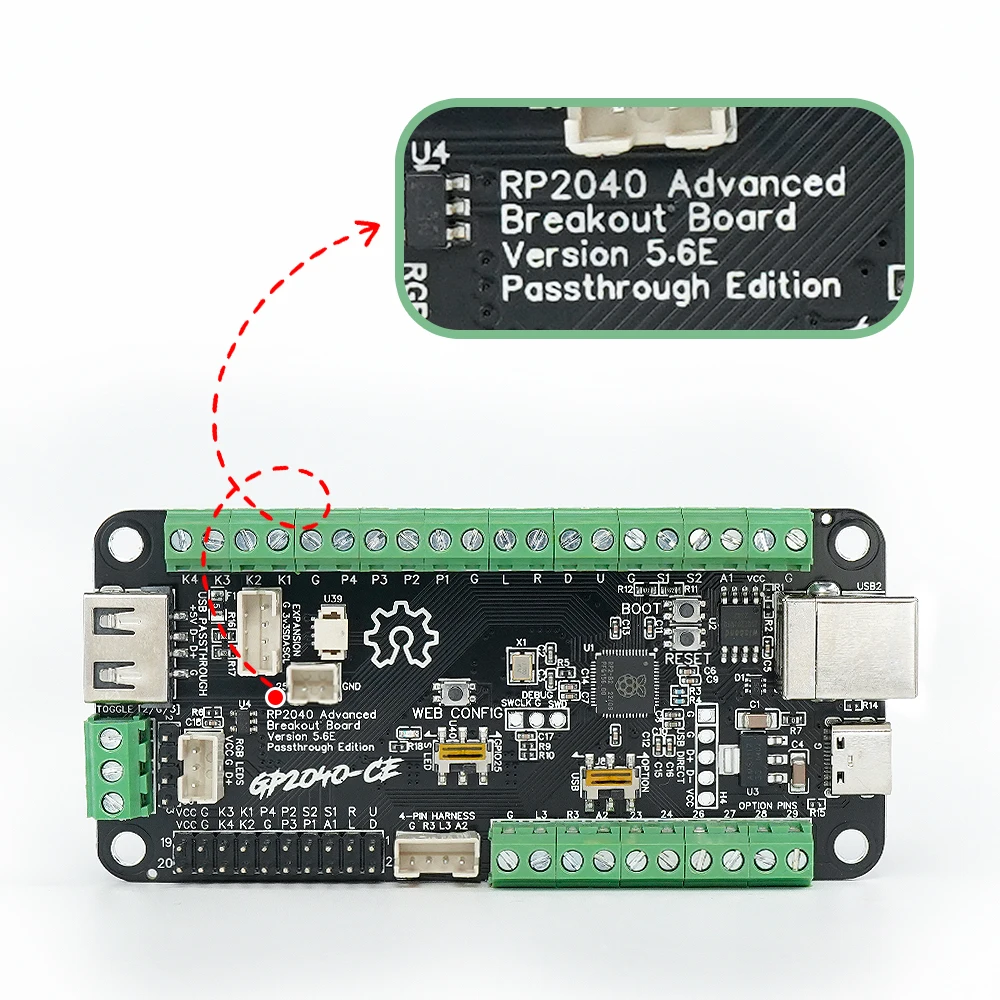
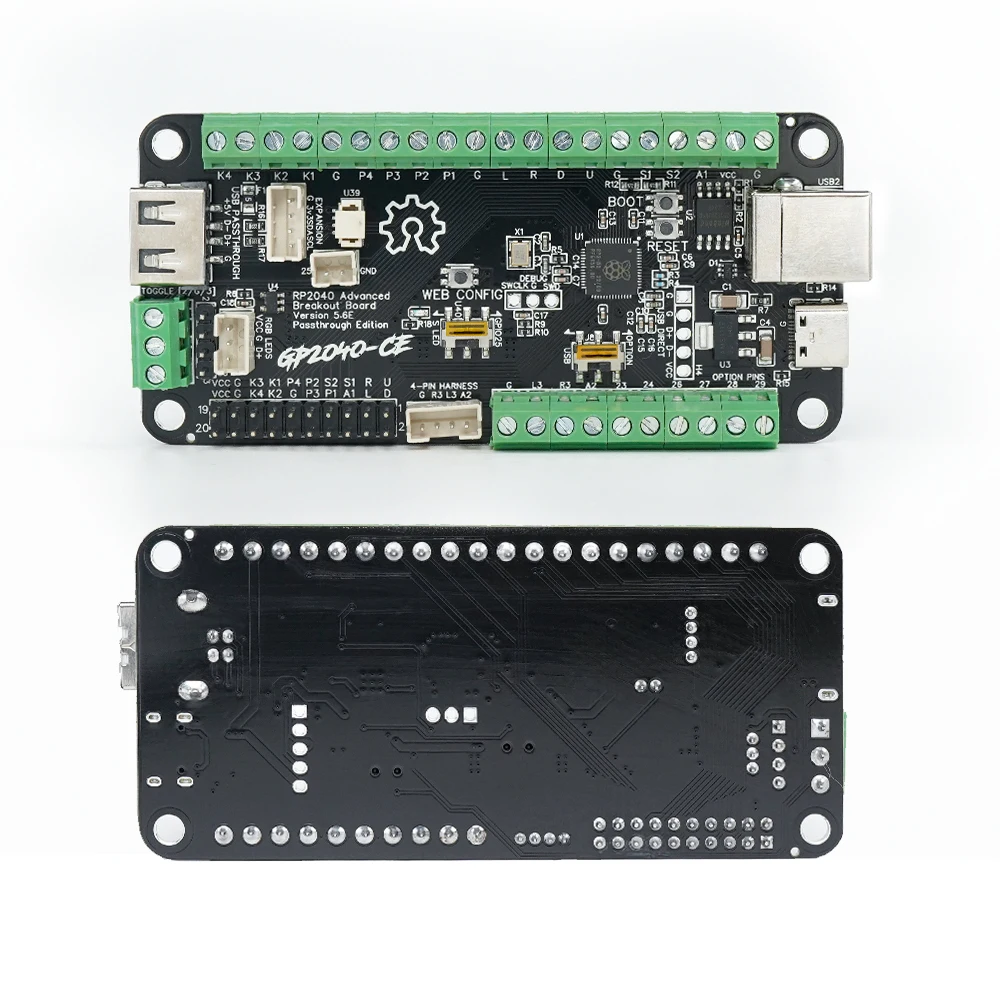
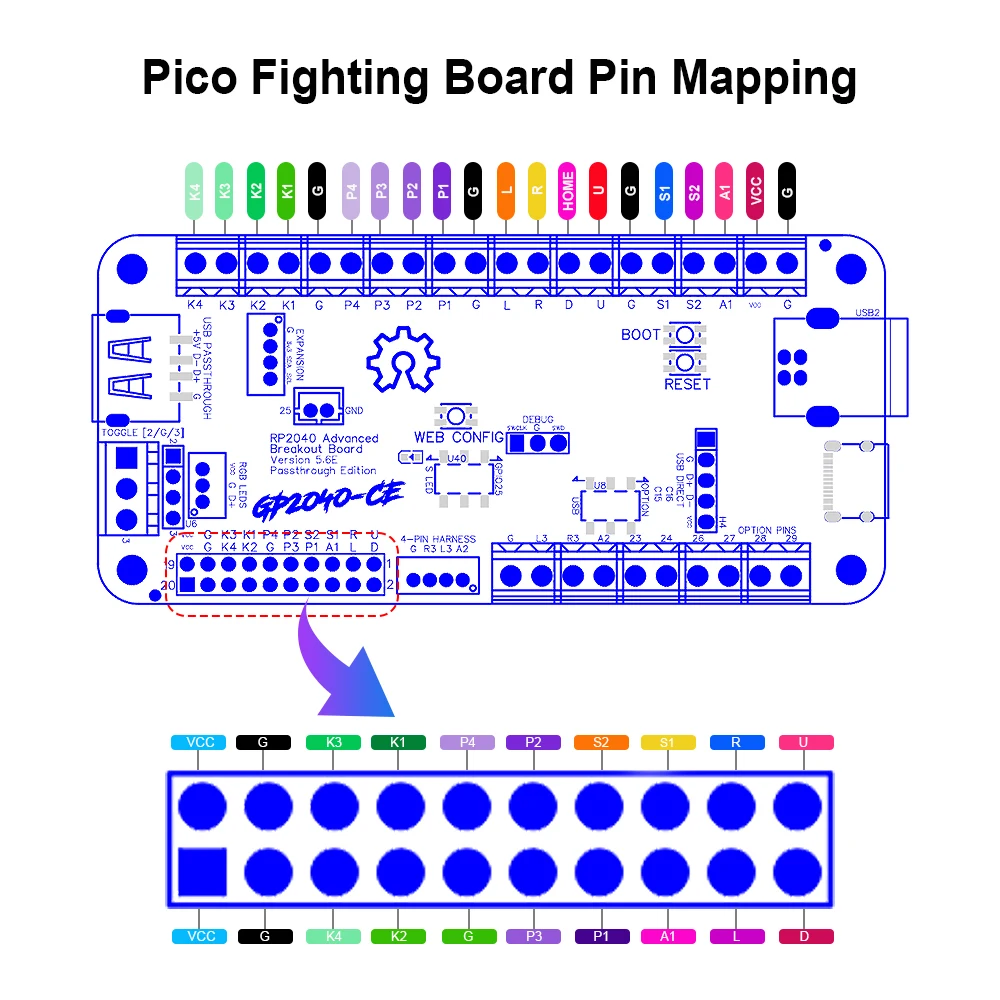
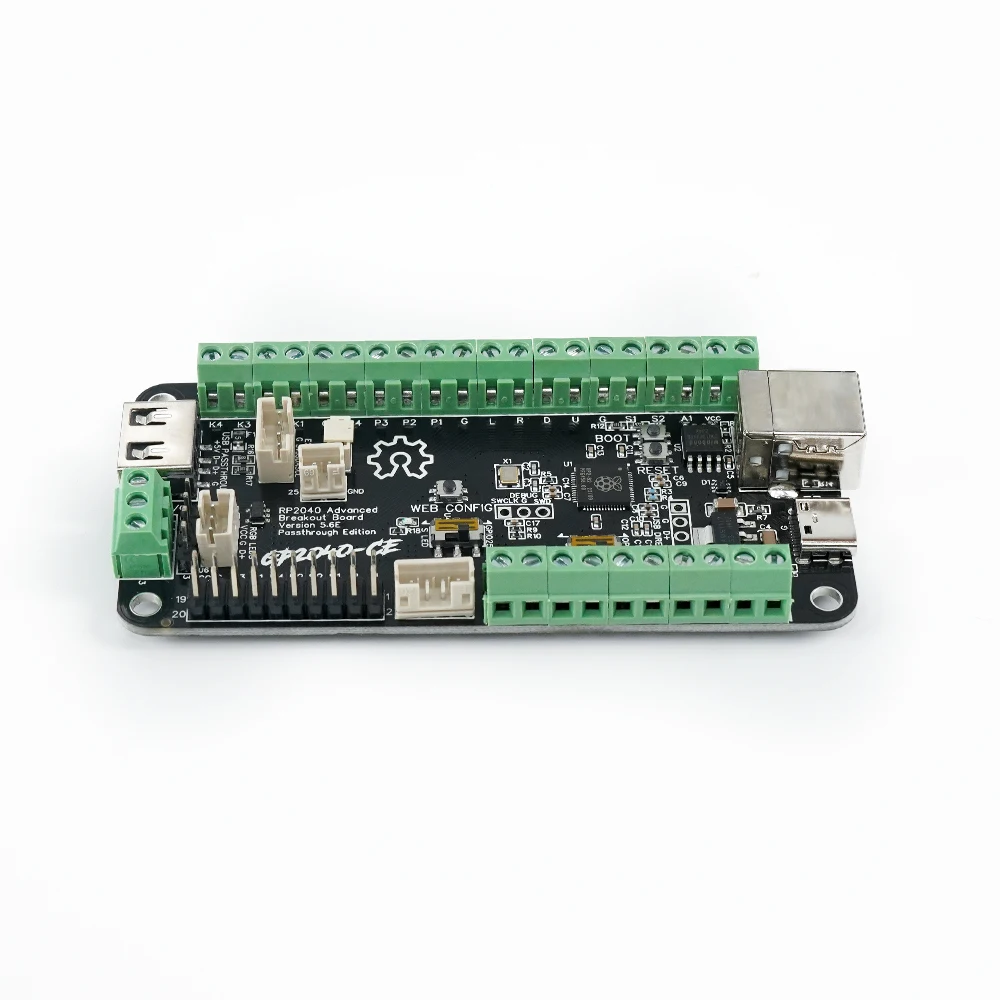
The Rp2040 Advanced Breakout Board is game controller with a built-in RP2040 chip, and its firmware is based on GP2040-CE (Community Edition). lt offers low latency, multi-platform compatibility, customizability, and many other rich features
 Info Link:
https://github.com/OpenStickCommunity/Hardware/tree/main/Boards/GP2040-CE%20Official%20Boards/RP2040%20Advanced%20Breakout%20Board/RP2040%20Advanced%20Breakout%20Board%20-%20Passthrough
Passthrough Port For ps4/ps5
https://gp2040-ce.info/faq/faq-ps4-ps5-compatibility
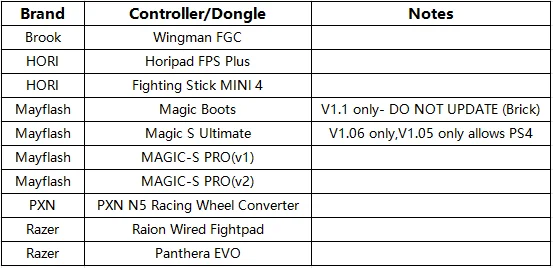
USB Passthrough Authentication Compatibility List(Here are just some of the devices listed, but they are not limited to these.)
NOTE: DS4, DS5, or clone controllers do not support authentication
Data source(https://github.com/InfraredAces/GP2040-CE-Compatibility-List)
Features:
Select from 13 input modes including X-Input, Nintend Switch, PS4/5, Xbox One, D-Input, and Keyboard
Input latency average of 0.76ms in Xinput and 0.91ms for Playstation 5.
Multiple SOCD cleaning modes - Up Priority (a.k.a. Stickless), Neutral, and Second Input Priority.
Left and Right stick emulation via D-pad inputs as well as dedicated toggle switches.
Dual direction via D-pad + LS/RS.
Reversed input via a button.
Turbo and Turbo LED with selectable speed
Per-button RGB LED support.
PWM Player indicator LED support (XInput only).
Multiple LED profiles support.
Support for 128x64 monochrome I2C displays - SSD1306, SH1106, and SH1107 compatible.
Custom startup splash screen and easy image upload via web configuration.
Support for passive buzzer speaker (3v or 5v).
Built-in, embedded web configuration - No download required!

Quick Guide
Input mode
To select input mode, hold one of the following buttons when plugging in yourcontroller:
A-PS3/DInput
B-Nintend Switch
X-PC/XInput
Y-PS4
D-Pad Modes
To select the active d-pad mode, while the controller is plugged in press
SELECT + START + DOWN - Normal D-pad operation
SELECT + START + LEFT Left analog stick emulation
SELECT + START + RIGHT - Right analog stick emulation
SOCD Modes
To select the active SOCD mode, while the controller is plugged in press:
HOME + START + DOWN Neutral(U+D=N, L+R=N)
HOME + START + UP Up Priority (U+D=U, L+R=N)
HOME + START + LEFT - Last Input Priority
RGB LEDS
Supports WS2812 and similar RGB LEDs. To change LED settings,press:
1.SELECT + START + X Next Animation
2.SELECT + START + A Previous Animation
3.SELECT + START + Y Brightness Up
4.SELECT + START + B - Brightness Down
5.SELECT + START + R1 LED Parameter Up
6.SELECT + START + R2 - LED Parameter Down
7.SELECT + START + L1 Pressed Parameter Up
8.SELECT + START + L2 Pressed Parameter Down
Joystick Direction Switch Mode
Key combination to toggle when connecting a device
HOME + START + RIGHT = Up and down button swap
Batter Mode(Support OLED Display)
Press the TURBO key and press the key to trigger the switch
Batter can be set to (X/Y/R1/L1 A/B/R2/L2)
speed is adjusted 1-60 times per second (uniform adjustment)
Turn on/off Batter mode :Hold TURBO+(X/Y/R1/L1 A/B/R2/L2)
Hold TURBO + UP to increase speed
Hold TURBO + DOWN to slow down the speed
The speed has a memory function, but the batter status is cleared when the connection is disconnected
Firmware Updates
The hitbox keyboard comes preinstalled with the latest GP2040-CE firmware. lf you'd like to update to the latest firmware, perform the following steps:
1.Download the latest version of GP2040-CE for the Pico Fighting Board from https://github.com/OpenStickCommunity/GP2040-CE
2.Unplug your hitbox from the computer.
3.Press and hold the white boot button on the Pico while plugging into the computer.
4.Copy the GP2040-Pico Fighting Board. uf2 file to the RPI-RP2 drive that appeared when connecting the PC
5.Once the update is complete the hitbox will restart and again be detected as a controller.
Advanced Configuration
The GP2040 firmware has a built-in configuration app which runs from a local webserver on the Pico. To access the configuration app from a computer
1.Hold START/web config button while plugging the controller into a computer.
2.Open a browser and navigate to https://192.168.7.1
You now have access to adjust controller settings, configure RGB LEDs, reset settings, etc
Links
GP20400-CE Firmware -https://github.com/OpenStickCommunity/GP2040-CE
Webserver Usage Guide- https://gp2040.info/#/usage
Характеристики
Используя этот сайт, Вы выражаете согласие на сбор и обработку Ваших персональных данных, в том числе с привлечением сторонних сервисов, с применением cookie-файлов и средств анализа поведения пользователей, согласно нашей Политике о персональных данных. Вы принимаете условия нашего Пользовательского соглашения.