Радиочастотный пульт-передатчик дистанционного управления Kebidu, 433 МГц, 1-канальный релейный модуль приемника 12 В пост. тока


Похожие товары
Отзывы
Все звездыСначала полезные
Ilia M.
13 августа 2021
Transmitter Receiver
Товар получил в целости и сохранности, хотя упаковку в Россию советовал бы сделать по лучше. Товар вложен в пакет и все. Но всё чётко видимо не футбольные дни в нашей почте. Отзыв оставил не сразу так как не работал один пульт, да и хотелось все подключить как следует и проверить. С пультом оказалось севшие батарейки, заменил и всё норм. Сами реле тоже проверил всё работает всё програмируется. Продавцу спасибо, всем советую.

Vladimir S.
28 февраля 2023
Transmitter Receiver
Быстрая доставка в Саратов 17дней. Качественный товар. Чёткий брелок. На корпусе все отверстия по месту. Диод светит видно через прозрачный корпус.
- VN
Vitaly N.
17 января 2022
Transmitter Receiver
Выглядит хорошо. Пультик очень удобно лежит в руке, и с батареей в комплекте, что приятно. но есть большой минус - корпус совсем не от этого прибора, хотя по размеру плата входит отлично, отверстия для проводов совершенно не соответствуют выводам на плате. Пригодится.
- RK
Roman K.
23 декабря 2021
Transmitter Receiver
Хороший товар. Пульт сделан качественно, приятно держать в руке. Пожалел, что реле взял в чёрном корпусе, т. к. световой индикатор расположен внутри его не будет видно, лучше брать в белом корпусе. Метров с 70 в прямой видимости пульт точно достаёт. Внутри две батарейки CR2016. Покупал для включения предпускового подогревателя Eberspacher. Подключил, всё работает. Один минус в том, что пульт негерметичный на стыке межу половинками корпуса, придётся промазать герметиком. Схему подключения добавлю в дополнительном отзыве, может кому пригодится.

JiRkA C.
12 декабря 2022
Transmitter Receiver
Работает хорошо, пришел уже в паре. Ток в режиме ожидания составляет 6,8 мА независимо от входного напряжения. Когда катушка реле заряжена, потребление составляет 38 мА при 12 В. Может работать при напряжении 20 в, но рекомендуется изменить реле или не использовать в течение этого времени. Минимальное напряжение, когда катушка тянет контакты 8 в, поэтому рекомендуется использовать выше 9 В, или изменить реле для типа 5 В для низкого напряжения. Пластиковая коробка, в которой находится релейный модуль, не имеет места для проводов, подключенных к основному клеммному блоку. Рекомендуемые режущие отверстия, или распаечные клеммные блоки, и пайки проводов к печатной плате. Коробка имеет две пары отверстий с противоположных сторон. Может использоваться как двухполюсный универсальный тип устройства (в качестве двух проводов на входе и двух проводов на выходе, с обеих сторон)

Aleksey N.
9 января 2022
Transmitter Receiver
Выглядит очень качественно. Есть не большие нюансы, но это не проблема.
- oy
oleg y.
17 февраля 2022
Transmitter Receiver
Заказал 22.01.2022 пришла посылка в Красноярский край 15.02.2022 цена 272р трек отслеживался. Проверил все работает как заявлено на 3 фото видно вентилятор стоит на 4 вращается горит светодиод. Качество хорошее брелок тяжелый можно брать. Продавцу респект ставлю пять звезд!!

Yaroslav P.
11 ноября 2023
Transmitter Receiver
В субботу утром на почте получил без происшествий 👌, теперь жду пока откроется транспортная компания. Теперь по пультикам, работают хорошо в своем диапазоне частот, дальность зависит от того где вы их используете, в пульте есть батарейка.
Описание
kebidu 1Pc RF Transmitter 433 Mhz Remote Controls with Wireless Remote Control Switch DC 12V 1CH relay Receiver Module
![]()
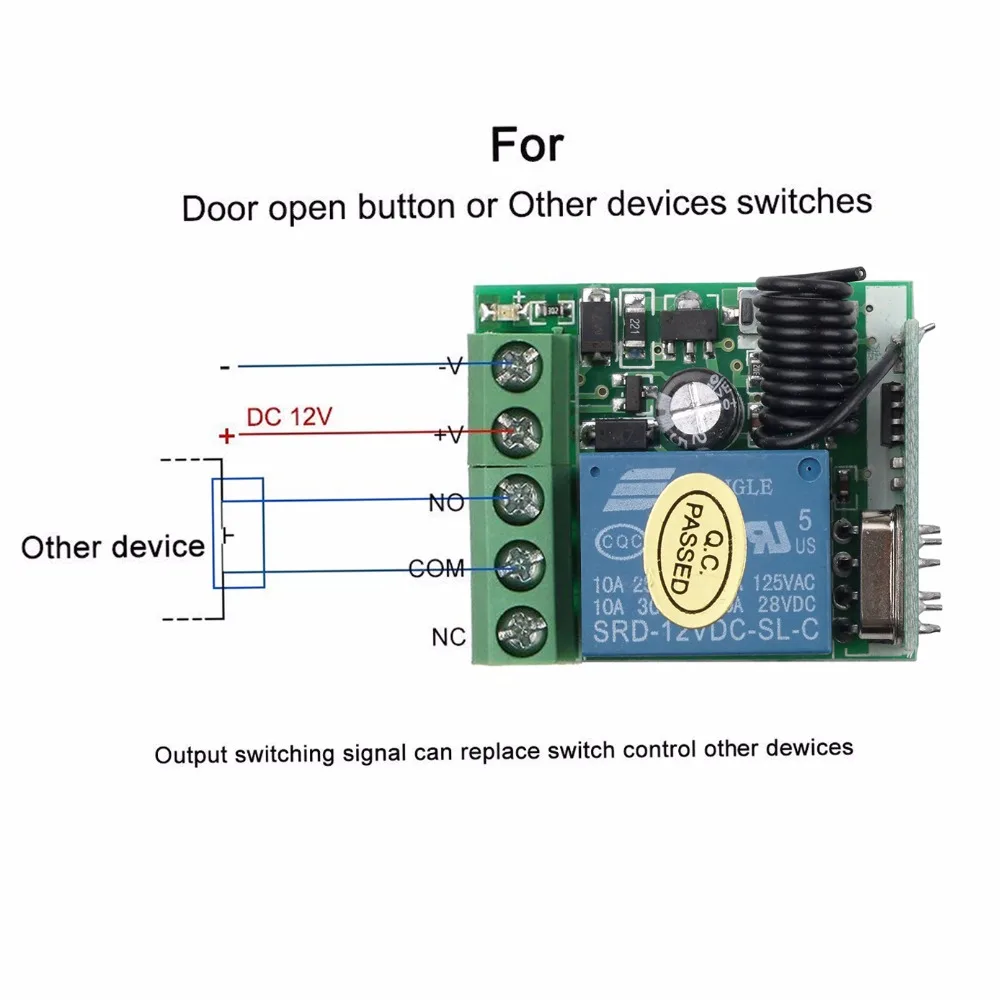
Input Voltage: 12 V
Receiver sensitivity: > 97 dbm
Transmitting distance:> 100 m ( open space)
Decoding mode: MCU software decoding
Remote storage: 20
Support remote type: EV1527 learning code
Working mode: Momentary, toggle, latching time delay (5s ,10s ,15s )
Output terminal: NO , NC , COM
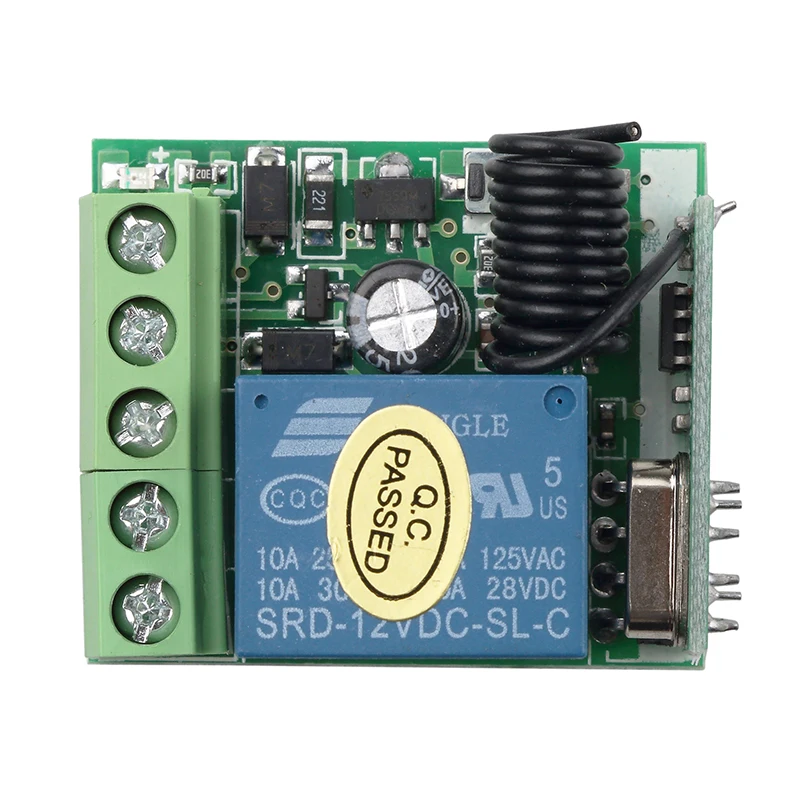
Dimension of PCB:35 x 30 x 18 mm (L,W,H)
Remote control battery: 2 x 3 V CR2016 button batteries
Note: Maximum input power is 12 V
Remote programming
Working mode:
1. Inching mode: press the remote control the relay will connect, and then release the remote controlto disconnect the relay;
2. Self-locking mode: press the remote control the relay will connect, and then press the remote control again to disconnect the relay;
3. Interlock mode: press the remote control key A to connect the relay, and press the remote control key B to disconnect relay.
4. Delay mode: press the remote control the relay will connect, release the remote control and start timing. After 5S, 10S and 15S (3 gears), the relay will be automatically closed.
Learning Methods:
1. Inching learning method:
Press the code pairing button on the control panel once, and the LED indicator will flash once. After the LED indicatorlit, press the button you need to pairing on the remote control, the LED indicator on the control panel will flash for 3 times which means the pairing succeed.
2. Self-locking learning method:
Press the code pairing button on the control panel twice, and the LED indicator will flash twice. After the LED indicatorlit, press the button you need to pairing on the remote control, the LED indicator on the control panel will flash for 3 times which means the pairing succeed.
3. Mutual lock learning method:
Press the code pairing button on the control panel three times, and the LED indicator will flash three times. After the LED indicatorlit, press the button you need to pairing on the remote control, the LED indicator on the control panel will flash for 3 times which means the pairing succeed.
4. 5S delay learning method:
Press the code pairing button on the control panel four times, and the LED indicator will flash four times. After the LED indicatorlit, press the button you need to pairing on the remote control, the LED indicator on the control panel will flash for 3 times which means the pairing succeed.
5. 10S delay learning method:
Press the code pairing button on the control panel five times, and the LED indicator will flash five times. After the LED indicatorlit, press the button you need to pairing on the remote control, the LED indicator on the control panel will flash for 3 times which means the pairing succeed.
6. 15S delay learning method:
Press the code pairing button on the control panel six times, and the LED indicator will flash six times. After the LED indicatorlit, press the button you need to pairing on the remote control, the LED indicator on the control panel will flash for 3 times which means the pairing succeed.
Clearingmethod:
Press the code pairing button on the control panel eight times, then it will automatically clear all the learned remote controls.After clearing, the remote control previously learned can no longer be used.
Package including
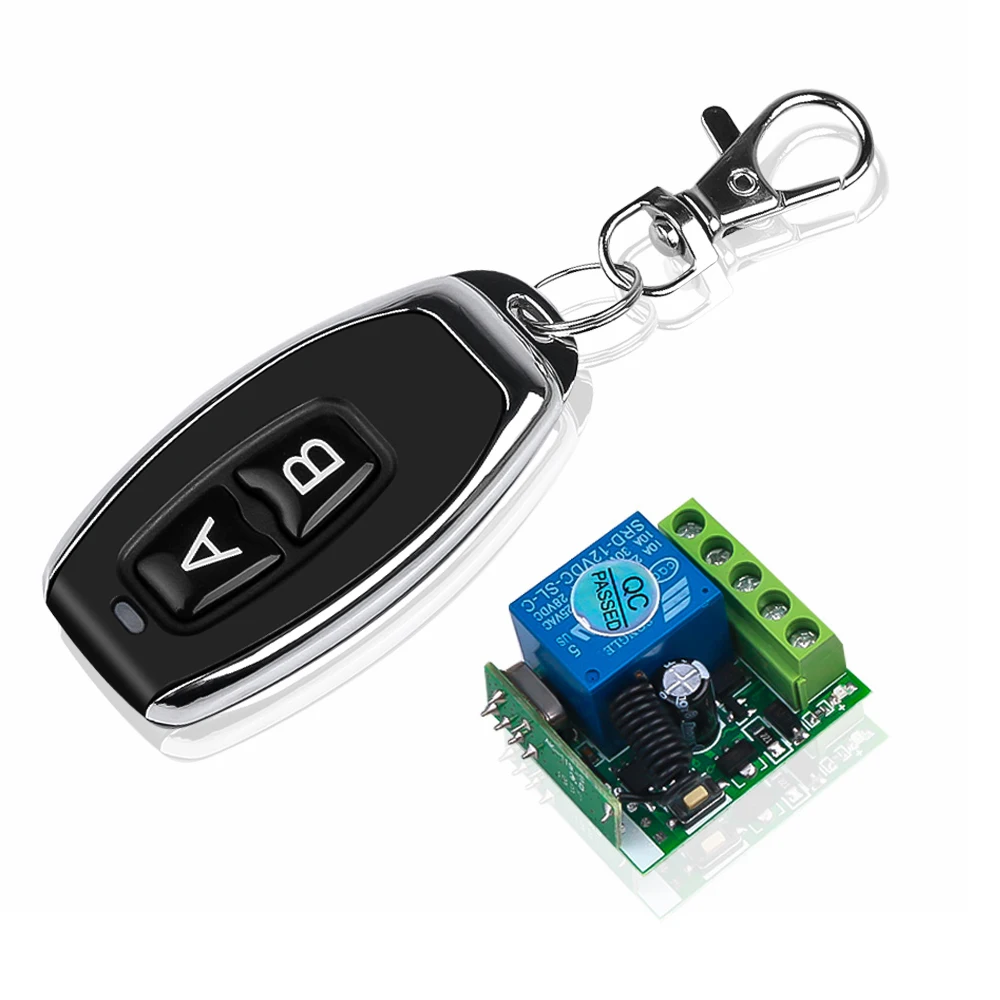
1*Receiver module
1*Remote Control (with battery)
![]()


